Holmbrewing archive
Date: June 22, 2015
June 22, 2015
Brew Session: Father’s Day – Northern Brewer Speckled Heifer
Finally got out to do some brewing on Sunday for the first time since early spring. Got all my brewery set up on the back deck to keep an eye on the kiddos playing in the inflatable water slide while I brewed. In retrospect, I should have taken a few moments here and there to get some photos. Oh well, next time.
This was my second brew session on the Steelhead pump / camlock setup. The first/last time I was out running on this equipment was back in March. Back then, I made a good number of mistakes which led to a pretty nasty stuck mash.
- I was doing a double-batch (10 gallon) for the first time…
- …of Bavarian Hefewiesen, which seemed to have a higher protein content, creating a stickier mash.
- My strike probably was too hot, causing the bulk of the mash to start to cook, leading to an excess of extracted gluten proteins.
- The mash temp may have dropped too low when I tried to add cool water, causing the extracted proteins to gel up.
- I tried to raise the temp back to to 152 with a copper coil in my boil kettle, hooked to the pump, which was drawing too much of a vacuum from the mash tun.
So really, a comedy of errors. Any one of these things could have caused a stuck mash, and I did pretty much all of them. Had I had some rice hulls on-hand, I could have stirred some in and at least mitigated the issue. Instead, I was left to stir up the mash periodically, and do an extremely slow mash-out. The beer came out cloudy with all the proteins in it, but all in all, it was still very drinkable. Better than a Bud in my book. It was a frustrating experience in many ways, but a good reminder that every brewing session is a learning experience, and that one should always take good notes, and review them to recall their mistakes.
So anyhow, this weekend I was able to take another shot at using my new setup and make some corrections to help ensure a successful brew day.
Rice Hulls
This time around I made sure to make a stop into Northern Brewer and order a bulk 50 lb. sack of rice hulls ($35, or $0.70/lb when bought in bulk). For a 15 lb. grain bill (~10 gallon batch), 1 lb. of rice hulls is more than sufficient to give you mash a nice filter bed. 35 cents per 5 gallon batch is a small price to pay to help ensure a smooth mash-out. I plan to use some in every batch I brew from now on, and the bag I have ought to last me through 500 gallons of beer, or several years of brew sessions at the rate I brew. More than worth it.
Cautious Mash-In
In my brewing setup, I have two main vessels: a cooler-type mash tun, and a 15 gallon keggle. Since getting the pump, I’ve started pumping watch directly from the keggle into to the mash tun from the bottom. This allows me to flood the grain from the bottom-up, potentially reducing the formation of dough balls because the watch doesn’t trap air pockets. However I tend to have pretty hot strike water (probably a mistake, I know) because in the winter I try to overcome the thermal mass of the cold grain bill that’s been sitting in my garage. I’ve had sessions where I constantly miss 152, and I end up adding hot/cold water until I have a ridiculous water/grain ratio, and poor efficiency as a result. So this time around I went easy on the hot water, adding just enough to get my grain wet, then topped off with water that I pre-mixed in a 5-gallon bucket to hit 154. Once I dumped the water in, I was right on: 152. I know, know. I could have used my copy of BeerSmith to dial all this in, but I’ve never had the time to tune in the thermal mass of my mash tun.
Gravity-fed Mash-Out
Prior to getting a pump, I’ve always drained from the mash tun directly into a 5-gallon bucket. Some may frown on that due to the fear of hot-side aeration. However, I’ve never noticed an issue with doing this, and it seems that hot-side aeration may be a myth, at least in practice. Regardless, this methods allows me to drain my mash with nearly zero additional vacuum on the grain bed (assuming proper lautering practices are followed), and it allows me to brew with less/cheaper equipment, specifically dedicated boil AND HLT kettles. Doing a 10 gallon batch? Just grab another $4 food-grade bucket from Menards! And you can never seem to have enough brewing buckets, so, bonus.
Collect Extra Wort
I ended up collecting an extra gallon or two of wort from the end of the mash-out (still above 1.008) to boil in a separate kettle. I was basically using it as insurance in case the OG of my main kettle was turning out to be too low (yet another thing I could use Brew Smith for). In the end, I just dumped it in with the main boil once it was sufficiently reduced. It ended up bringing my gravity 0.006 higher than what the recipe called for, but I’m not complaining. 😉
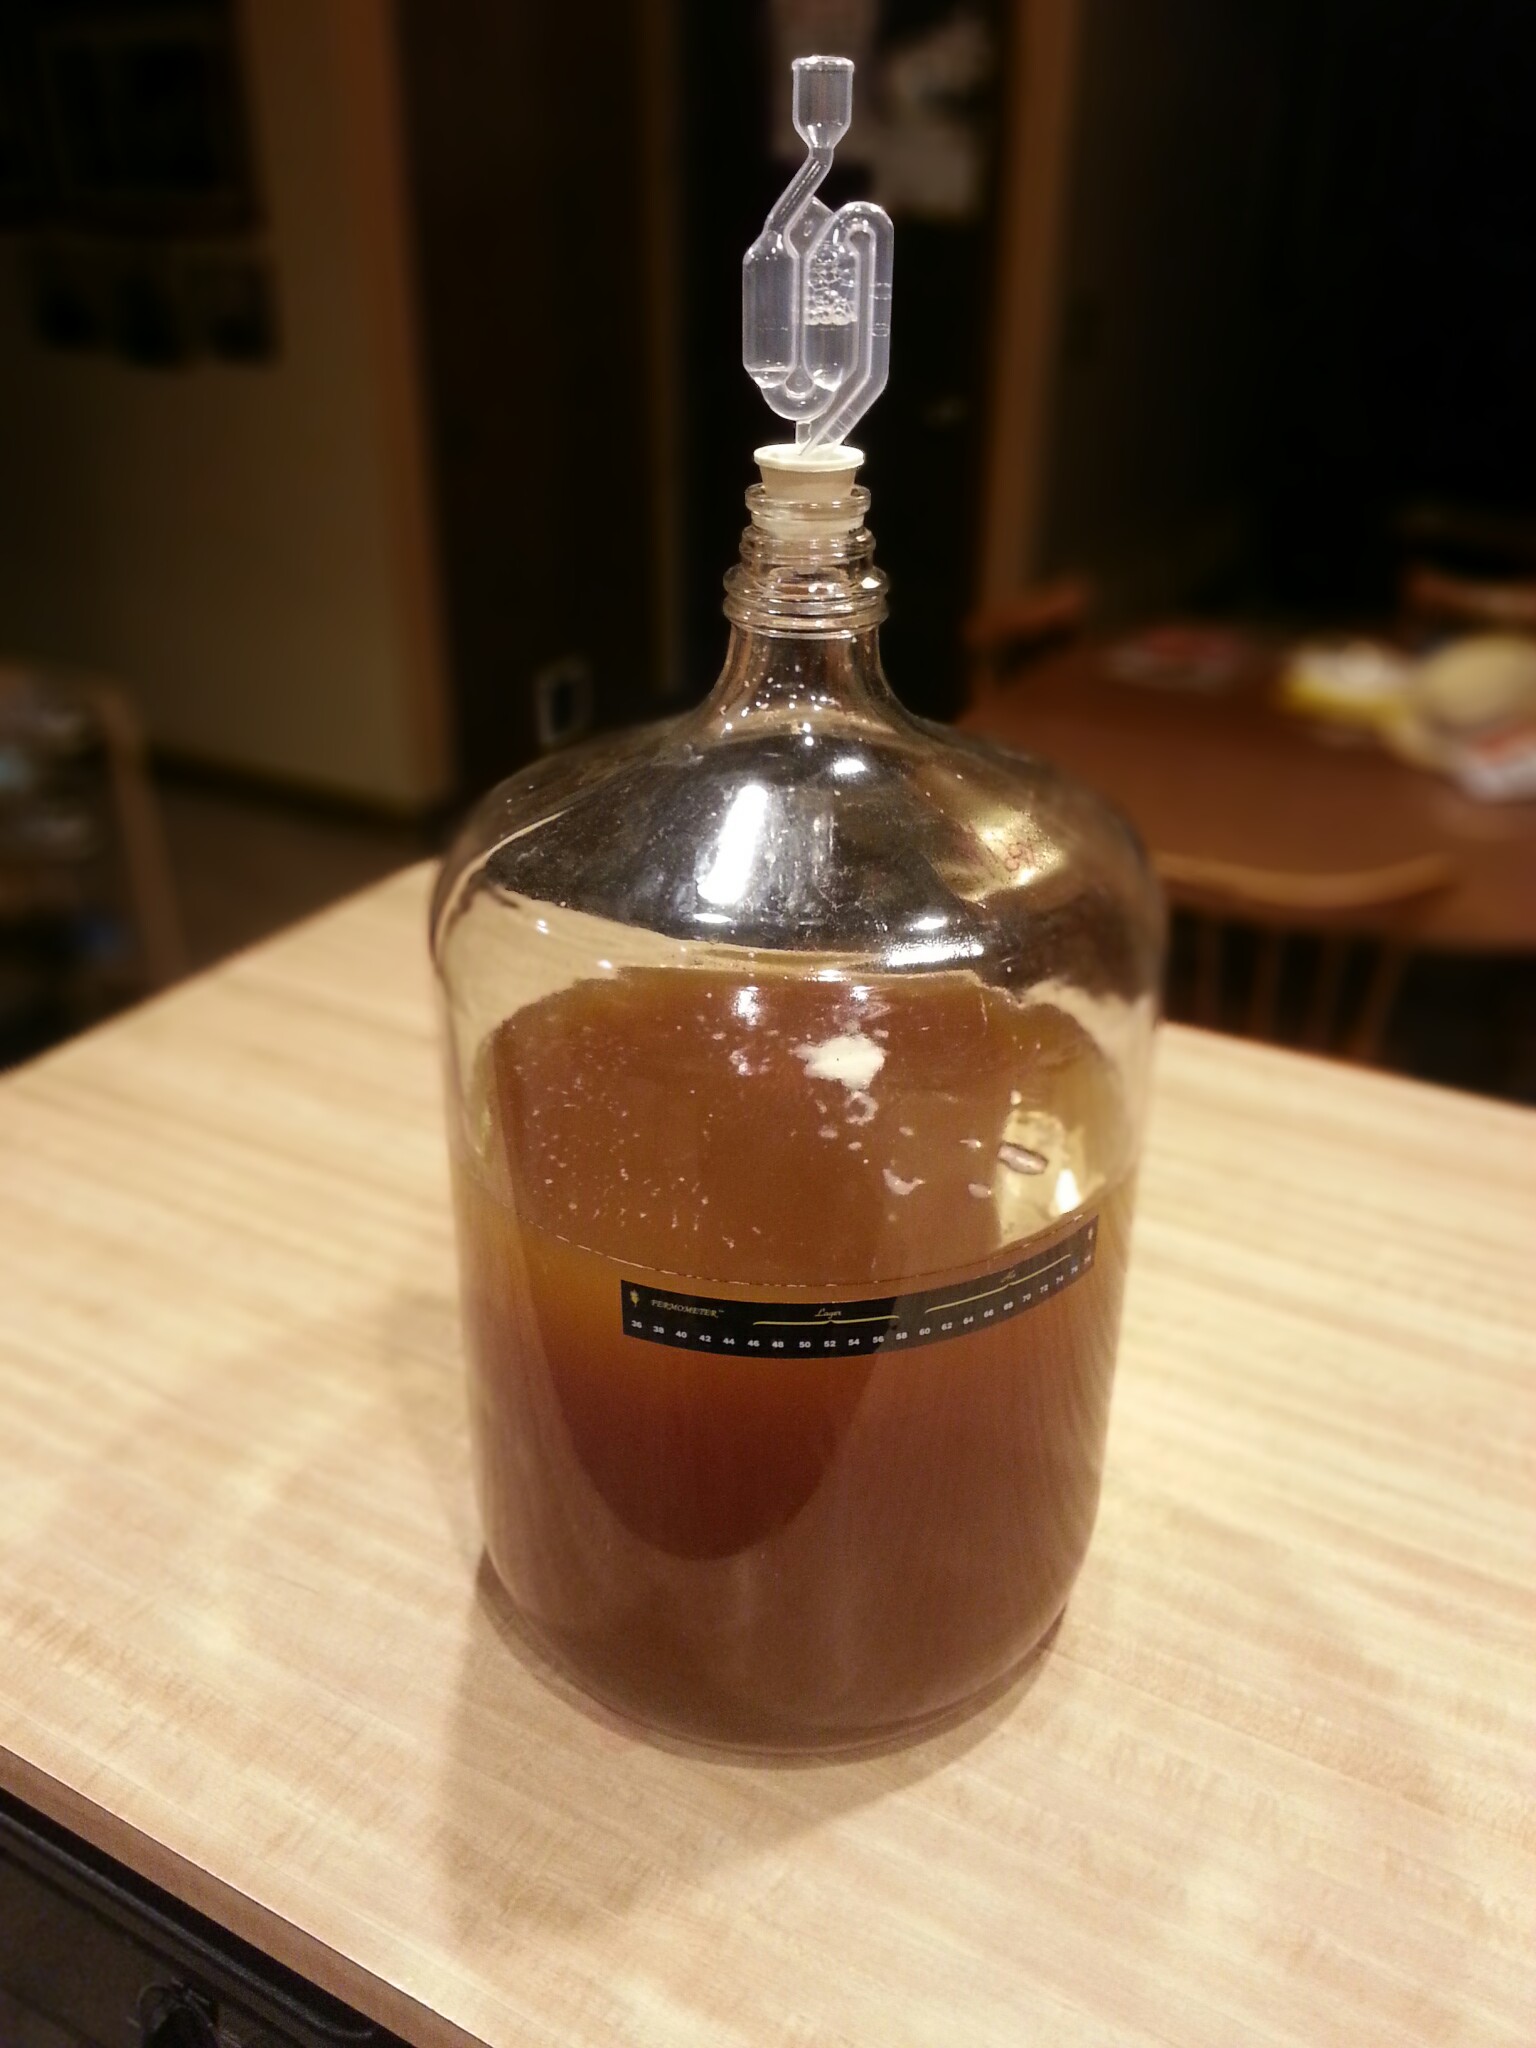
Other than that, the rest of the session was pretty straightforward. Again, during one of these sessions I’ll have to capture more of this by photo/video to share my setup.
Brew Session Stats
Beer: Northern Brewer – Speckled Heifer (AG), 10 gallon
Session Start: ~2PM
Session Finish: ~7PM
OG: 12.5 brix (1.048)
Kegged 8/5: FG 5.8bx (1.008 corrected), 5.3% ABV