Holmbrewing archive
Author: jholmstadt
August 3, 2015
Weeknight (3 Hour) Brew Session: Magic Hat #9 Clone Attempt
With the wife and kids out of town for a few days back on the 13th, I decided to take a shot at making one of my favorite beers: Magic Hat #9. The recipe is based upon this comment in HBT, but using Danstar Nottingham dry yeast. I probably should have opted for the Wyeast WLP002 liquid yeast, however I’ve been interested in creating a stock of dry yeasts at home, and I wanted to see what the result of a dry English yeast would be. Also, as mentioned in the linked comment, I plan on using 4 cans of DelMonte canned apricot halves, pureed. We’ll see how it turns out.
One of the goals of this brew session was to try to see how short I could make a brew session, and see if I could make weeknight brew sessions more of a reality. To help speed up the process, I took my collected strike water at tap temperature, dumped it into my mash tun, and then pumped it through my CFC as I ran hot tap water (~145°F) through from my utility sink. The result was taking 5 gallons of 67°F to 142°F in about 5 minutes.

Once I got it in my keggle and started up the heat, I was able to get it to strike temperature in under 10 minutes. If I had a hot water tap in my garage, near my boil kettle, I probably could preheat my water as I start the burner, and get my water to strike temp within 10 minutes of when I start.
Here’s a timeline of what my brew session would have looked like had I not been messing around with taking pictures, futzing around with thermometers and timers, and taking notes on it all:
0:00 Start collecting 5 gallons filtered water.
0:05 Finish collection. Start CFC pre-heat.
0:10 Finish pre-heat. Start kettle burner.
0:20 Reach strike temp (162-170°F)**. Mash-in.
0:25 Start of saccharification rest (152°F).
1:00 Start heating sparge water (~5 gal.)
1:15 Start of lautering
1:25 Start of mash-out, sparge (170°F)
1:35 Start kettle burner
1:45 Start of boil. Skim off hot break.
1:50 First hops addition (0.25 oz. – Columbus)
2:40 Second hops addition (1 oz. Cascade)
2:47 Third hops addition (1 oz. Cascade)
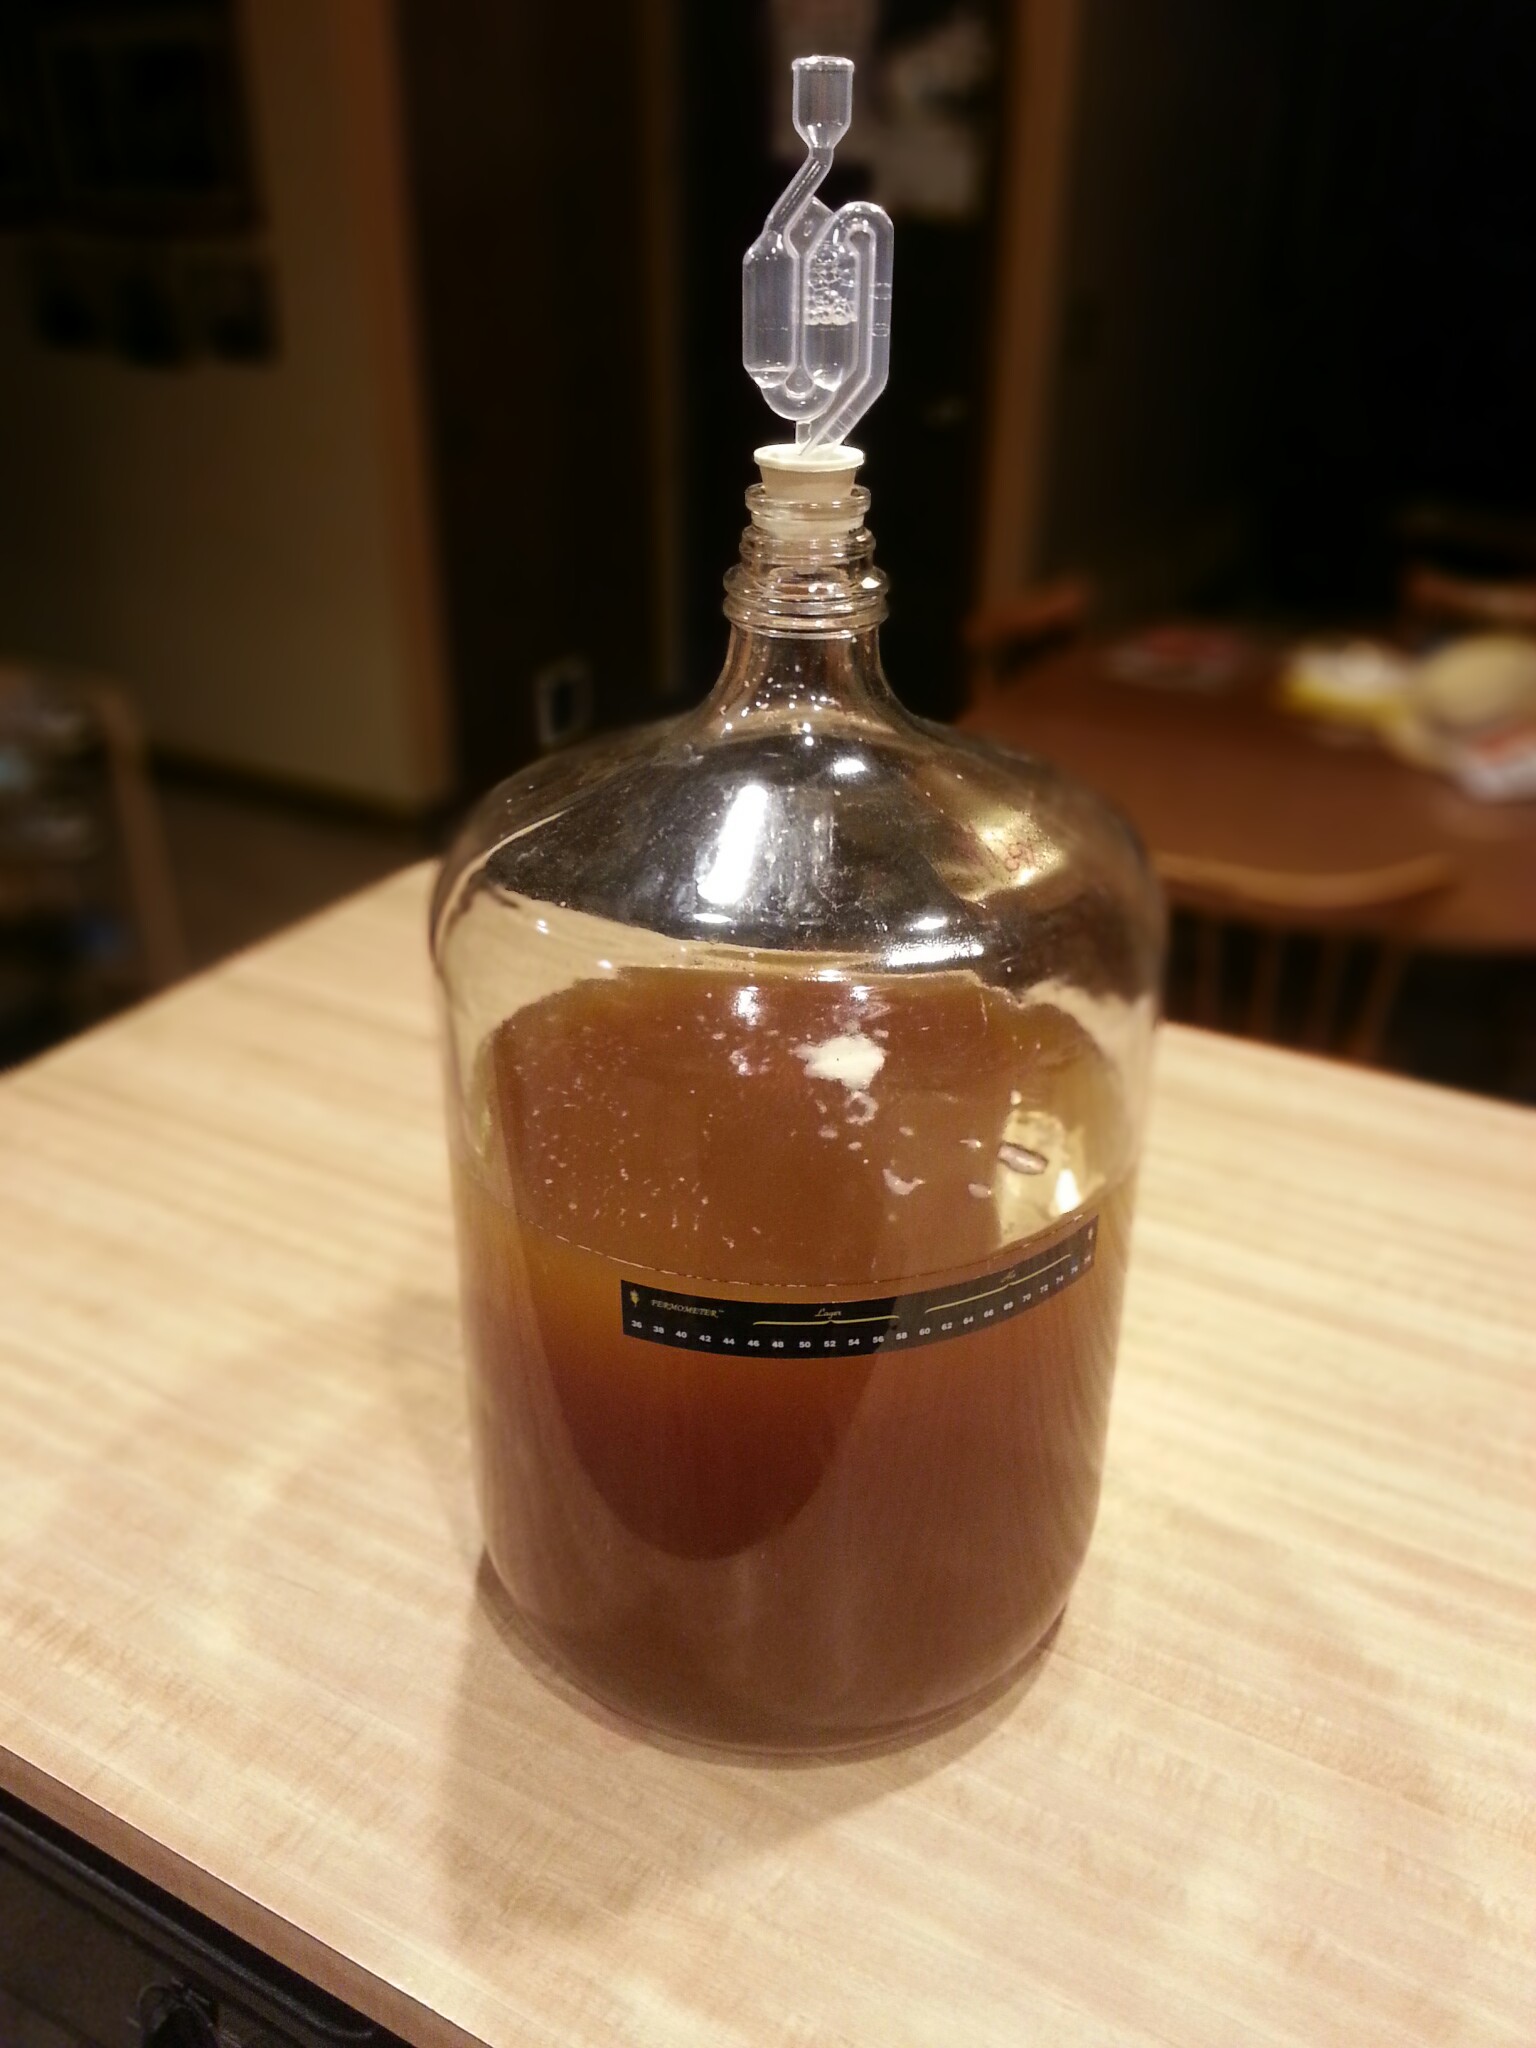
2:50 Flame out. Start CFC to carboy.
3:00 Carboy full (6 Gal)
So, 3 hours. Not bad. And if I had a proper brew stand with separate boil and HLT kettles, and with hot water nearby, I could probably shave off another 10-15 minutes. Now, my actual brew session started at 6:15PM, and ended at 10:45PM, so 4.5 hours. However during this time I managed to transfer two brews to keg, wash and sanitize two carboys, and transfer a beer from primary to secondary. So I don’t think it’s a stretch to say that a sub-3 hour brew session is possible when you have the right equipment and processes.


And now for something completely random… While I still had about 3 gallons of 190° wort in the kettle as I was running it through the CFC, I managed to fumble and drop my CDN ProAccurate Quick-Read Thermometer into the kettle. Needless to say I wasn’t interested in turning my hands into lobster claws, so I grabbed my stainless steel spoon and tried to fish it out. I managed to get it out after it had sat in near-boiling wort for about 2 minutes. The screen was black from the heat, and I thought for sure I had killed it. I quickly rinsed it off and popped the battery out. Once it was dried off, I popped the battery in and… IT STILL WORKED! Now, your mileage may vary, but for $20, this is a very good quick-read thermometer. I highly recommend it!


Recipe and Stats (again, credit: HBT)
7/13/2015 Magic Hat #9 Clone Attempt (6 Gal)
10 lbs. – American 2-Row Pale Malt
1 lb. – Crystal Malt (60L)
3 lbs. – Oregon Fruit Puree – Apricot
Mash at 152° for 60 min.
Hop Schedule
.25 oz. – Columbus (60 min.)
1 oz. – Cascade (10 min.)
1 oz. – Cascade (3 min.)
Yeast
Danstar Nottingham (Dry)
O.G. 1.048
Racked to secondary on 8/7, 5.8bx (1.008 corrected)
Racked onto Vinter’s Harvest Apricot Puree
Much-belated update:
Tasing notes: Sour, sour, sour.  I think that the apricot puree ended up being way more acidic than I expected, and after it fermented out the second time, the yeast left no sweetness behind to help curb the dryness and acidity of the beer. If I were to do this again, I might consider using the apricot puree after the beer had been cold crashed, then then left cold to let the apricot solids settle out. I also might try using a yeast with a lower attenuation to leave more sweetness behind. Danstar Nottingham is considered to be a high attenuation yeast, so it probably consumed all the sugars that the apricot puree brought to the party. Maybe next time stick with WLP002 or Safeale S-04.
Or perhaps it might just be time to try an apricot extract instead. :-/
June 22, 2015
Brew Session: Father’s Day – Northern Brewer Speckled Heifer
Finally got out to do some brewing on Sunday for the first time since early spring. Got all my brewery set up on the back deck to keep an eye on the kiddos playing in the inflatable water slide while I brewed. In retrospect, I should have taken a few moments here and there to get some photos. Oh well, next time.
This was my second brew session on the Steelhead pump / camlock setup. The first/last time I was out running on this equipment was back in March. Back then, I made a good number of mistakes which led to a pretty nasty stuck mash.
- I was doing a double-batch (10 gallon) for the first time…
- …of Bavarian Hefewiesen, which seemed to have a higher protein content, creating a stickier mash.
- My strike probably was too hot, causing the bulk of the mash to start to cook, leading to an excess of extracted gluten proteins.
- The mash temp may have dropped too low when I tried to add cool water, causing the extracted proteins to gel up.
- I tried to raise the temp back to to 152 with a copper coil in my boil kettle, hooked to the pump, which was drawing too much of a vacuum from the mash tun.
So really, a comedy of errors. Any one of these things could have caused a stuck mash, and I did pretty much all of them. Had I had some rice hulls on-hand, I could have stirred some in and at least mitigated the issue. Instead, I was left to stir up the mash periodically, and do an extremely slow mash-out. The beer came out cloudy with all the proteins in it, but all in all, it was still very drinkable. Better than a Bud in my book. It was a frustrating experience in many ways, but a good reminder that every brewing session is a learning experience, and that one should always take good notes, and review them to recall their mistakes.
So anyhow, this weekend I was able to take another shot at using my new setup and make some corrections to help ensure a successful brew day.
Rice Hulls
This time around I made sure to make a stop into Northern Brewer and order a bulk 50 lb. sack of rice hulls ($35, or $0.70/lb when bought in bulk). For a 15 lb. grain bill (~10 gallon batch), 1 lb. of rice hulls is more than sufficient to give you mash a nice filter bed. 35 cents per 5 gallon batch is a small price to pay to help ensure a smooth mash-out. I plan to use some in every batch I brew from now on, and the bag I have ought to last me through 500 gallons of beer, or several years of brew sessions at the rate I brew. More than worth it.
Cautious Mash-In
In my brewing setup, I have two main vessels: a cooler-type mash tun, and a 15 gallon keggle. Since getting the pump, I’ve started pumping watch directly from the keggle into to the mash tun from the bottom. This allows me to flood the grain from the bottom-up, potentially reducing the formation of dough balls because the watch doesn’t trap air pockets. However I tend to have pretty hot strike water (probably a mistake, I know) because in the winter I try to overcome the thermal mass of the cold grain bill that’s been sitting in my garage. I’ve had sessions where I constantly miss 152, and I end up adding hot/cold water until I have a ridiculous water/grain ratio, and poor efficiency as a result. So this time around I went easy on the hot water, adding just enough to get my grain wet, then topped off with water that I pre-mixed in a 5-gallon bucket to hit 154. Once I dumped the water in, I was right on: 152. I know, know. I could have used my copy of BeerSmith to dial all this in, but I’ve never had the time to tune in the thermal mass of my mash tun.
Gravity-fed Mash-Out
Prior to getting a pump, I’ve always drained from the mash tun directly into a 5-gallon bucket. Some may frown on that due to the fear of hot-side aeration. However, I’ve never noticed an issue with doing this, and it seems that hot-side aeration may be a myth, at least in practice. Regardless, this methods allows me to drain my mash with nearly zero additional vacuum on the grain bed (assuming proper lautering practices are followed), and it allows me to brew with less/cheaper equipment, specifically dedicated boil AND HLT kettles. Doing a 10 gallon batch? Just grab another $4 food-grade bucket from Menards! And you can never seem to have enough brewing buckets, so, bonus.
Collect Extra Wort
I ended up collecting an extra gallon or two of wort from the end of the mash-out (still above 1.008) to boil in a separate kettle. I was basically using it as insurance in case the OG of my main kettle was turning out to be too low (yet another thing I could use Brew Smith for). In the end, I just dumped it in with the main boil once it was sufficiently reduced. It ended up bringing my gravity 0.006 higher than what the recipe called for, but I’m not complaining. 😉
Other than that, the rest of the session was pretty straightforward. Again, during one of these sessions I’ll have to capture more of this by photo/video to share my setup.
Brew Session Stats
Beer: Northern Brewer – Speckled Heifer (AG), 10 gallon
Session Start: ~2PM
Session Finish: ~7PM
OG: 12.5 brix (1.048)
Kegged 8/5: FG 5.8bx (1.008 corrected), 5.3% ABV
June 5, 2014
Welcome
Coming “soon”, my blog detailing my adventures in “Holm”brewing.